
Workshop Wednesday: Build a 60% Dark Milk Chocolate Recipe You Can Repeat (Without the Guesswork)
Author: Cocoa Craft
There is a particular kind of chocolate-making heartbreak that every serious maker eventually experiences.
You create a 60% dark milk chocolate recipe that is balanced, creamy, and just bitter enough to keep things interesting. The flavor is excellent. The texture is smooth. Everyone who tastes it asks when the next batch will be ready.
Then the notebook disappears.
Or the formula lives in a phone note titled “Chocolate test maybe final 3,” with no batch size, no roast details, and no memory of whether the milk powder went in before or after the sugar. The chocolate was brilliant once, and now it has vanished into the fog of production history.
Today’s Workshop Wednesday project is about fixing that problem. We will build a practical dark milk chocolate recipe, calculate a test batch, and show how Cocoa Craft’s Recipe Builder, Formulation Tool, Chocolate Lab, and Maker Workshop help turn a good experiment into repeatable chocolate craft.
Start with the target: 60% cocoa in a milk chocolate formula
A 60% dark milk chocolate sits between a traditional milk bar and a higher-cocoa dark bar. It should bring clear cocoa character, but still have enough milk powder and sugar for a rounded, creamy finish.
For this formulation, the 60% cocoa target comes from the cocoa nibs and added cocoa butter:
| Ingredient | Percentage |
|---|---|
| Roasted cocoa nibs | 50.0% |
| Cocoa butter | 10.0% |
| Cane sugar | 32.6% |
| Whole milk powder | 7.0% |
| Lecithin, optional | 0.4% |
| Total | 100.0% |
The arithmetic is simple:
50.0% cocoa nibs + 10.0% cocoa butter = 60.0% cocoa ingredients
This is the important distinction when discussing a 60% dark chocolate or 60% cocoa chocolate. The percentage is not the amount of cocoa solids alone. It generally represents the total cocoa contribution, including cocoa butter, depending on the labeling convention being used.
The formula gives you a chocolate with a firm cocoa backbone, moderate sweetness, and enough milk powder to soften the edges without turning the bar into a conventional sweet milk chocolate.

Calculate a test batch by weight
Percentages make scaling painless. Once the formula is defined, every batch size uses the same calculation:
Ingredient weight = total batch weight × ingredient percentage
For a 1,000-gram test batch, the formula becomes:
- 500 g roasted cocoa nibs
- 100 g cocoa butter
- 326 g cane sugar
- 70 g whole milk powder
- 4 g lecithin, optional
For a smaller 500-gram batch:
- 250 g roasted cocoa nibs
- 50 g cocoa butter
- 163 g cane sugar
- 35 g whole milk powder
- 2 g lecithin, optional
The same percentages work for a 5 kg pilot batch or a 25 kg production run. You do not need to rewrite the recipe. You only need to change the total batch weight.
That is why percentage-based formulations are so useful for craft chocolate makers. They separate the identity of the recipe from the size of the batch. A notebook full of fixed gram amounts may work for one experiment. A percentage formulation works for production.
For home chocolate making, this also prevents a common problem: adjusting one ingredient because the batch size changed, then forgetting to adjust everything else. The result may still be delicious, but it is no longer the same chocolate.
Where the notebook usually fails
The formula is rarely the part that gets lost. The missing information is usually everything around it.
What was the roast time? How long did the nibs refine before the sugar was added? Did the chocolate run for 36 hours or 60? Was the milk powder added slowly? What was the room humidity? Did the batch temper cleanly, or did it need an extra cooling cycle?
This is where the difference between an interesting experiment and a repeatable product becomes obvious.
Cocoa Craft’s Recipe Builder helps you save the core recipe and revisit the formulation later. The Chocolate Lab adds the useful context: version history, tasting notes, roast information, grind observations, and tempering details.
When a formula moves from “promising” to “ready for a real production run,” Maker Workshop gives the process a more operational home. You can carry forward the validated formulation, document ingredients and lots, and create clearer run instructions for yourself or your team.
Build a batch plan before you start. It takes less time than trying to reconstruct a successful chocolate from memory.
A practical refining workflow
For a small bean to bar chocolate batch, the order of operations matters.
1. Prepare the nibs
Use clean, evenly roasted cocoa nibs. Roast profile has a major impact on the final flavor because this recipe contains 50% nibs. A roast that is too light may leave the chocolate sharp or underdeveloped. A roast that is too aggressive can bring smoke, bitterness, or burnt notes that the milk powder will not hide.
Record the roast temperature, time, and cooling method. If you roast and winnow your own beans, also record the starting bean weight and final nib yield.
2. Warm the stone grinder or melanger
Melt the cocoa butter and add it to a clean, warmed stone grinder or melanger first. This gives the machine a liquid phase to work with and helps prevent the early mixture from becoming a stubborn, dry paste.
Add the roasted cocoa nibs gradually while the machine is running. Let the nibs and cocoa butter develop into a flowing chocolate liquor before adding the dry ingredients.
3. Add sugar slowly
Once the nib and cocoa butter mixture is moving freely, add the sugar in small portions. Adding it too early can overload the machine and create a thick mass that refines poorly.
A gradual addition also makes it easier to observe viscosity. Record what the chocolate looked and felt like at this stage. “Very thick after sugar addition” is more useful than “seemed fine.”
4. Add milk powder after the sugar
Add the milk powder slowly after the sugar has been incorporated. Milk powder can clump, and adding it too quickly may create dry pockets in the chocolate.
Keep the mass moving and monitor the temperature. Many makers aim to keep a milk-containing chocolate below approximately 50°C during refining to reduce the risk of cooked or scorched dairy notes. Your equipment, room temperature, and batch size will affect the actual number, so treat temperature as a variable to record rather than a universal promise.
5. Refine and conche
Continue refining until the particle size and flavor meet your target. Small-batch makers commonly run milk chocolate for roughly 36 to 72 hours, but the correct time depends on the equipment, ingredient preparation, and desired texture.
A target in the low-tens-of-microns range is a practical starting point for a smooth bar, but your palate matters too. A chocolate can measure well and still taste flat, overly acidic, or too heavy.
Record:
- Refining start and end time
- Temperature range
- Ingredient addition times
- Viscosity changes
- Aroma changes
- Final particle-size reading, if available
- Any adjustments made during the run
This is the process history that turns Chocolate Lab from a digital notebook into useful formulation knowledge.
Tempering a 60% dark milk bar
A dark milk chocolate usually tempers between typical dark and milk chocolate working curves.
A practical seed-tempering starting point is:
- Melt the chocolate fully to approximately 45–50°C.
- Cool it while stirring to approximately 28–29°C.
- Rewarm gently to a working temperature around 30–31°C.
- Mold, vibrate to release air, and allow the bars to set in a cool, stable environment.
These temperatures are starting points, not commandments carved into a cocoa tree. Milk powder, cocoa origin, fat content, machine type, and seed quality can all affect the best working range. Use a temper test before molding the entire batch.
Look for a clean set, good contraction from the mold, a smooth surface, and a clear snap. If the bar streaks, blooms, or remains soft, record what happened before changing several variables at once.
What flavor should you expect?
This formula should produce a creamy but distinctly cocoa-forward bar. Expect roasted chocolate notes, moderate sweetness, gentle dairy richness, and a lingering cocoa finish.
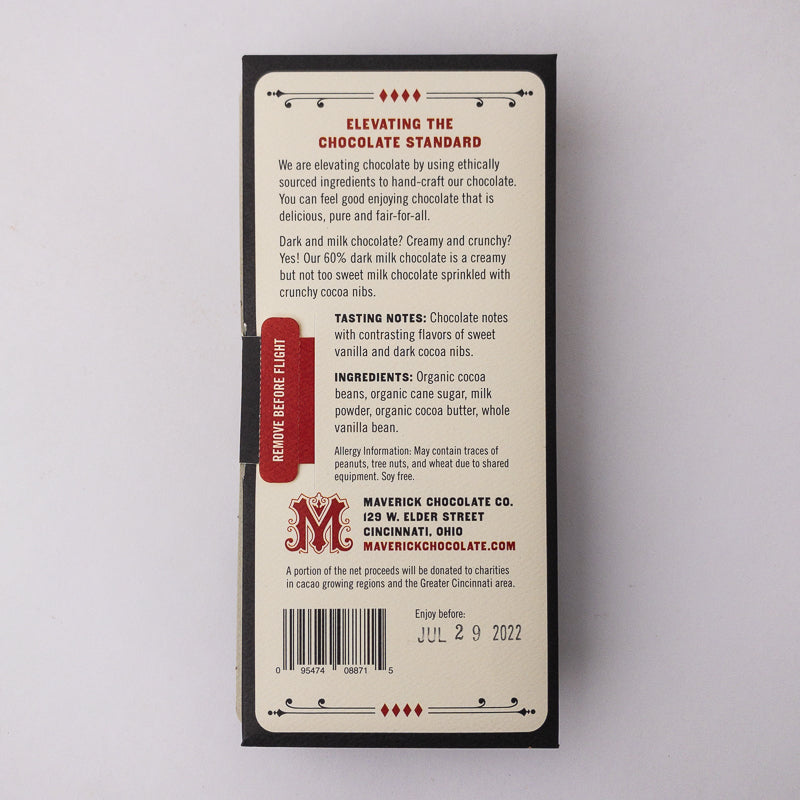
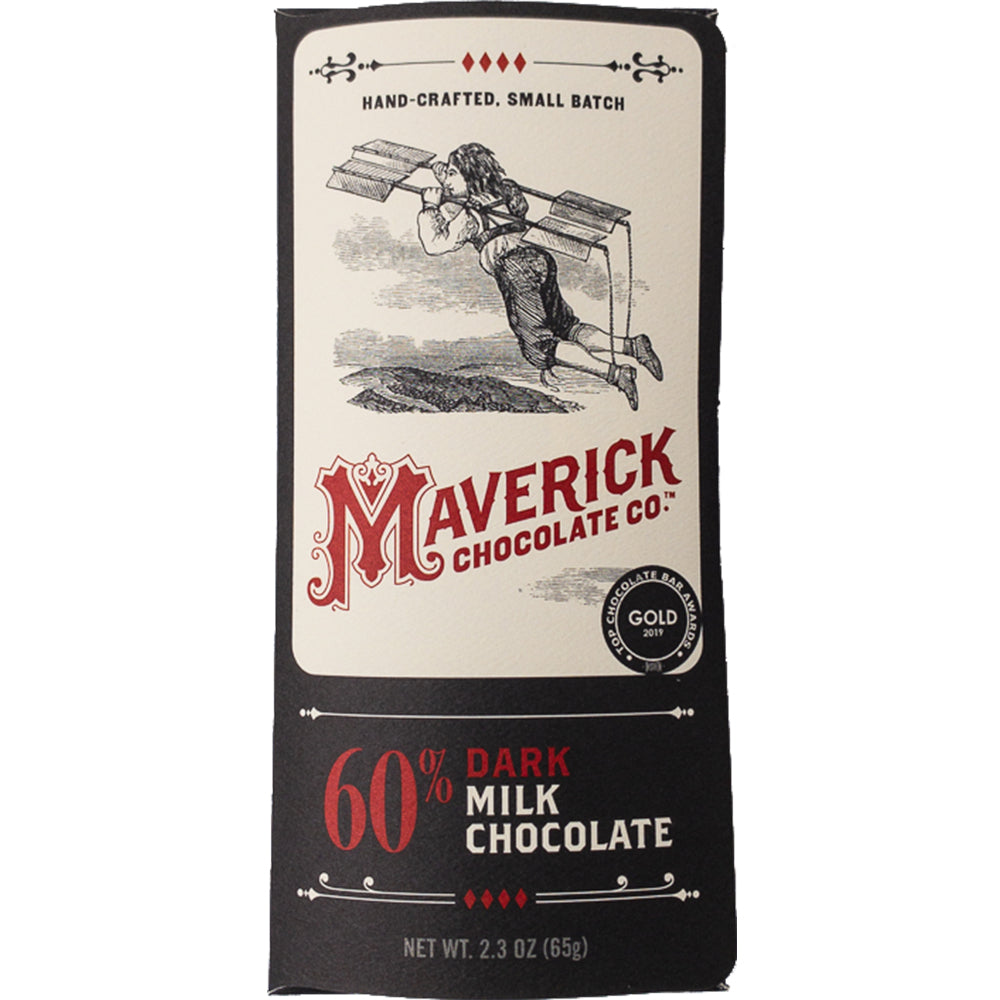
If you add nibs as an inclusion, you will get a more pronounced roasted aroma and a crunchy texture. For a finished-bar reference, browse Cocoa Craft’s 60% Dark Milk Chocolate and 60% Dark Milk Chocolate with Cocoa Nibs. You can also find roasted cocoa nibs and current chocolate-making equipment in the Cocoa Craft shop.
If the chocolate tastes too sweet, reduce sugar and increase cocoa butter or milk powder while keeping the formula at 100%. If it tastes too bitter, first examine the roast and conching process before making a major percentage change. Sometimes the recipe is fine; the roast simply brought too much attitude.
While the chocolate refines, take a short break in the Cocoa Craft Arcade. A quick round of Hot Cocoa Tapper is a more pleasant reset than staring at a melanger and pretending it is giving you new information.
Save the batch, not just the recipe
A repeatable chocolate record should include three layers:
Formulation: ingredient percentages, batch size, calculated weights, and any substitutions.
Process: roast, winnowing, refining, conching, temperature, timing, and tempering details.
Evaluation: tasting notes, texture, snap, appearance, and what you will change next time.
That structure matters whether you are a home chocolatier testing a 500-gram batch or a growing artisan chocolate business preparing a production run. It also makes collaboration easier. Another maker should be able to understand what happened without decoding your handwriting or asking which “final” spreadsheet is actually final.
This is the practical idea behind Cocoa Craft: Built by chocolate makers, for chocolate makers. The tools are designed to keep formulation, experimentation, and production connected: the operating system for chocolate production, without asking you to abandon the craft.
Create your first batch plan
Start with the 50/10/32.6/7/0.4 formula, calculate your batch size, and document every meaningful process variable. Then save the work in Cocoa Craft so the next excellent bar does not disappear into a forgotten notebook.
Create your first batch plan: sign up or log in at Cocoa Craft and open the Recipe Builder.
Beta offer: Get free, unlimited access to the full Cocoa Craft software suite in exchange for monthly feedback. Join the beta at cocoa-craft.com!
For more practical chocolate-making guidance, visit the Cocoa Craft blog.