
How to Create the Perfect 60% Dark Milk Chocolate Recipe in 5 Simple Steps
Ready to unlock the secret behind that perfect balance of rich cocoa intensity and creamy milk sweetness? Creating your own 60% dark milk chocolate at home isn't just possible: it's absolutely magical when you know the right steps!
Dark milk chocolate represents the perfect marriage between the bold, complex flavors of dark chocolate and the smooth, comforting sweetness of milk chocolate. At 60% cacao content, you're getting serious chocolate flavor without overwhelming bitterness, making it the ideal entry point for aspiring chocolate makers who want to create something truly special.
Whether you're a seasoned artisan looking to expand your repertoire or a passionate beginner ready to dive deep into chocolate crafting, this step-by-step guide will have you creating professional-quality 60% dark milk chocolate that rivals anything you'd find in premium chocolate shops.
What Makes 60% Dark Milk Chocolate Special?
Before we dive into the process, let's talk about why this particular percentage hits the sweet spot. Traditional milk chocolate typically contains 20-40% cacao, while dark chocolate usually starts at 70%. That 60% mark? It's where magic happens: enough cacao to deliver complex, sophisticated flavors while maintaining the creamy, approachable character that makes milk chocolate so beloved.
The secret lies in the precise balance of ingredients. You're working with roasted cocoa nibs, cocoa butter, milk powder, and sugar in carefully calculated proportions that create depth without sacrificing smoothness. It's a delicate dance that, when done right, produces chocolate that's both intensely flavorful and irresistibly creamy.
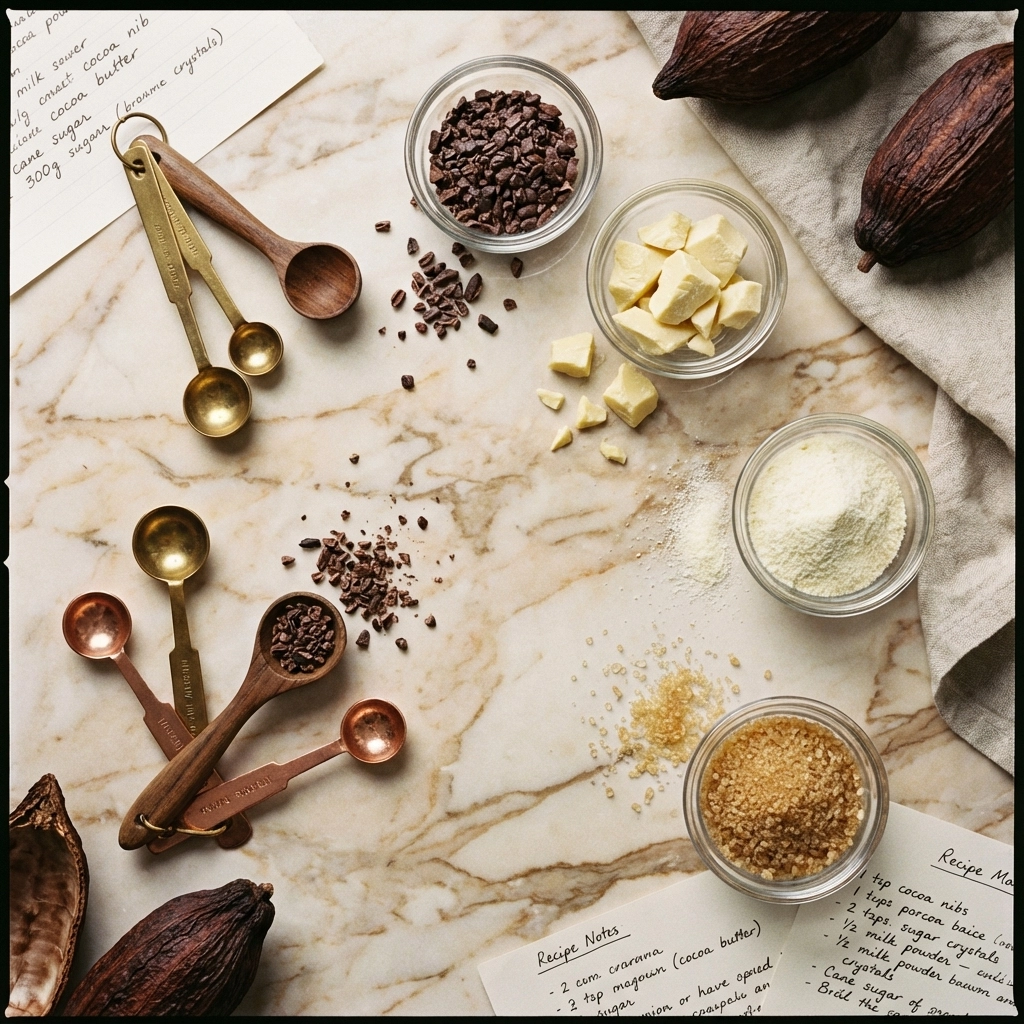
Essential Ingredients for Your 60% Dark Milk Chocolate
Success in chocolate making starts with understanding your ingredients. Here's your complete shopping list with the exact proportions that professional chocolatiers use:
Core Ingredients:
- 50% Roasted cocoa nibs - The star of the show, providing deep chocolate flavor
- 10% Cocoa butter - Adds smoothness and helps with viscosity during grinding
- 7% Whole milk powder - Creates that signature creamy texture and balances any bitterness
- 32.6% Cane sugar - Sweetens and balances the intense cacao flavors
- 0.4% Sunflower lecithin - Your secret weapon for perfect texture and easier molding
These percentages aren't arbitrary: they're the result of countless hours of testing and refinement to create the perfect 60% dark milk chocolate that balances intensity with approachability.
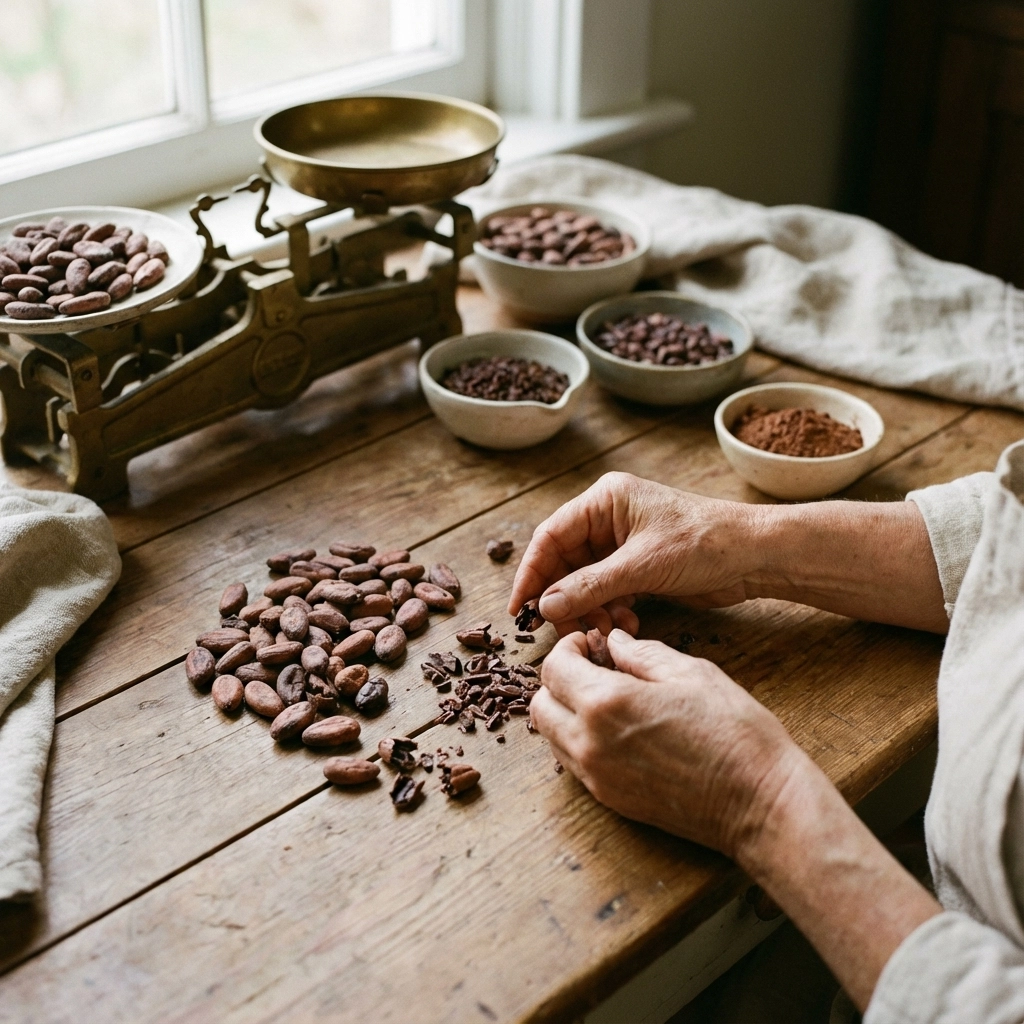
Step 1: Prepare Your Cacao Foundation
Your chocolate journey begins with the beans themselves. Start by sorting through your whole cacao beans, removing any broken pieces or foreign matter. This might seem tedious, but it's absolutely crucial for achieving that clean, professional flavor profile.
Preheat your oven to 120°C (248°F). Spread your sorted beans in a single layer on a baking sheet and roast for approximately 20 minutes. You'll know they're ready when they smell deeply chocolatey and the shells begin to crack slightly. The roasting process develops those complex flavors that separate homemade chocolate from mass-produced varieties.
Once roasted, let the beans cool completely: patience here prevents condensation that could affect your final product. After cooling, it's time for the winnowing process. Break the beans and separate the nibs from the shells. This can be done by hand for small batches, or you can use a hair dryer to blow away the lighter shell pieces while keeping the heavier nibs.
Pro tip: Save some of your best roasted nibs to add texture later if you want a slightly rustic finish to your chocolate!
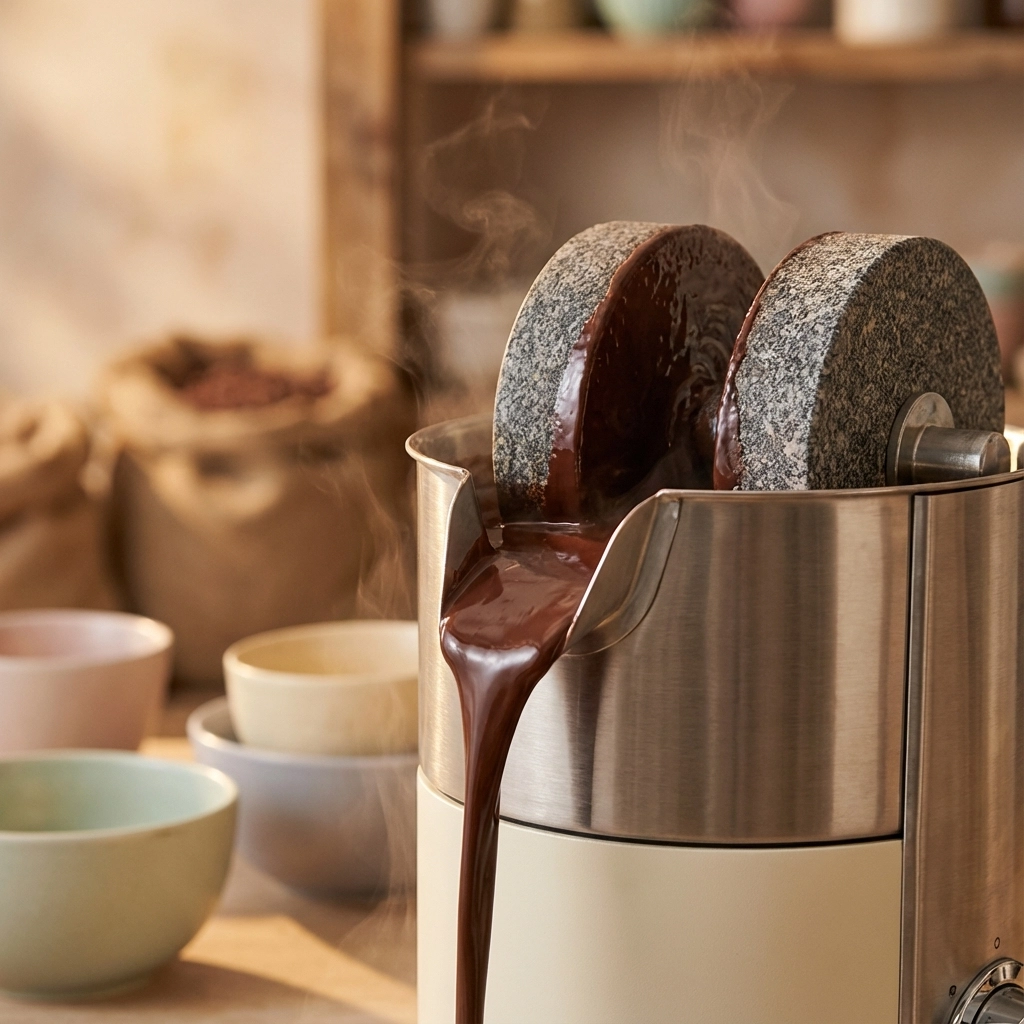
Step 2: Begin the Grinding Process
Here's where your melanger or wet grinder becomes your best friend. Start by warming your grinder: this helps the cocoa nibs begin releasing their natural oils more readily. Slowly add your roasted nibs to the heated melanger, allowing them to break down gradually.
Once the nibs are flowing and beginning to form a paste, it's time to add your pre-melted cocoa butter. This additional fat helps speed up the grinding process and improves the viscosity of your developing chocolate. The key word here is "slowly": add the cocoa butter in small increments while the machine is running.
During this phase, you'll start to see your chocolate base taking shape. The grinding action breaks down the cocoa particles to the microscopic level that gives finished chocolate its smooth mouthfeel. This process typically takes several hours, so don't rush it.
What to expect: The mixture will gradually transform from chunky pieces to a flowing, aromatic chocolate liquor. The aroma alone will tell you that something magical is happening!
Step 3: Sweet Balance - Adding Your Sugar
With your chocolate base flowing freely, it's time to introduce the sugar that will balance those intense cacao flavors. This step requires patience and attention: add your cane sugar gradually while the melanger continues running.
For smaller batches, you can add all the sugar during the initial grinding session. However, if you're making larger quantities, many chocolatiers prefer to add the sugar on the second day of grinding to ensure optimal particle size reduction.
The sugar integration is crucial because it's not just about sweetness: it's about creating the perfect texture. Properly ground sugar contributes to that smooth, non-gritty mouthfeel that distinguishes professional chocolate from amateur attempts.
Watch as your chocolate transforms again. The mixture will become more fluid as the sugar dissolves and integrates, and you'll notice the flavor profile becoming more balanced and approachable.
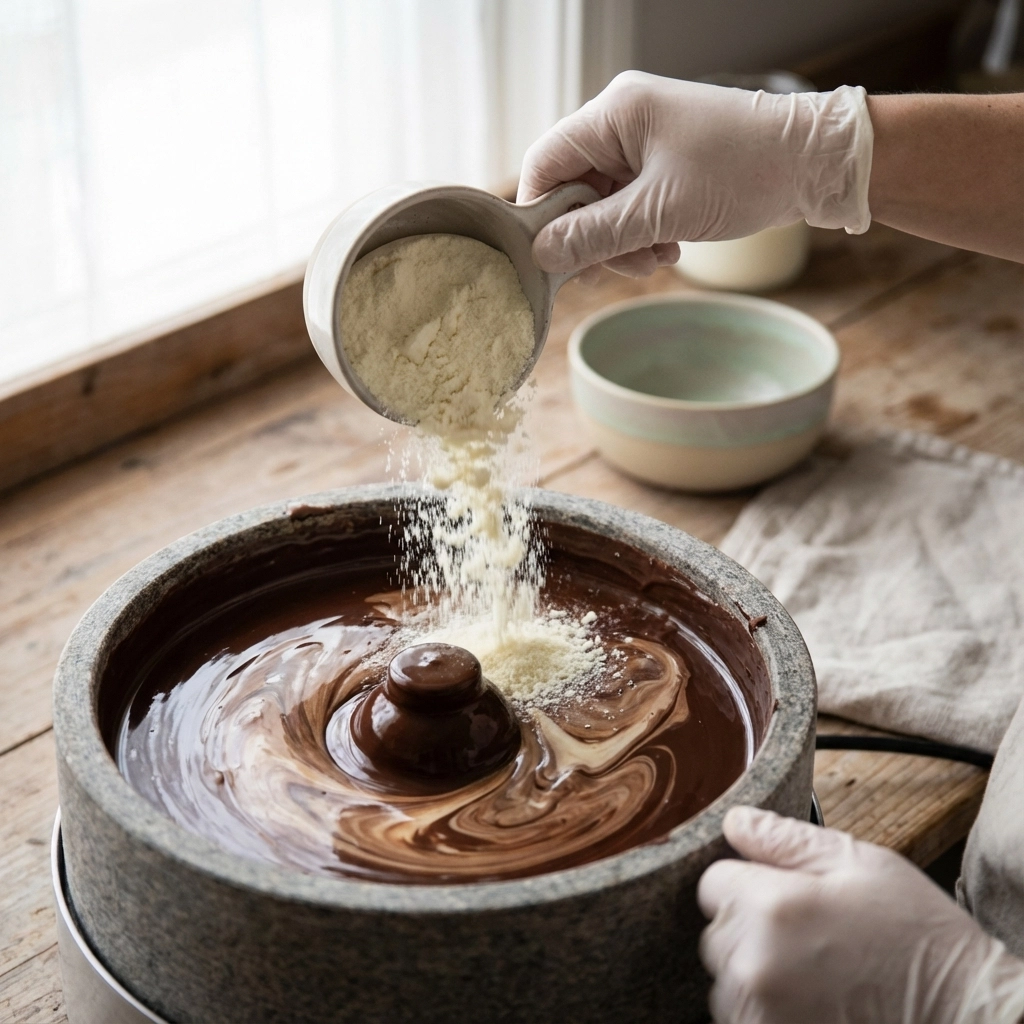
Step 4: The Milk Magic
Now comes the ingredient that transforms your dark chocolate into dark milk chocolate: the whole milk powder. This step is where the "milk" in dark milk chocolate really shines, creating that signature creamy texture that balances any remaining bitterness from the cacao.
Add the milk powder slowly and steadily while the melanger continues its work. The milk proteins and fats will integrate with your chocolate base, creating a more complex flavor profile and that sought-after creamy mouthfeel.
About an hour before you plan to finish grinding, it's time for your secret weapon: sunflower lecithin. This natural emulsifier improves viscosity, making your chocolate easier to work with during molding and tempering. More importantly, it helps create that professional snap and smooth finish in your final product.
The lecithin should be added gradually: that 0.4% might seem tiny, but it makes a massive difference in the final texture and workability of your chocolate.
Step 5: Conching, Setting, and Tempering
The final phase is where patience truly pays off. Your chocolate needs extended grinding and conching to develop its full flavor potential and achieve that silky smooth texture. For smaller melangers, plan on 24 hours of continuous grinding. Larger machines may require up to 72 hours.
During this extended grinding phase, several things happen: remaining particle size continues to decrease, flavors meld and develop, and any remaining moisture evaporates. The result is chocolate with professional-level smoothness and complex flavor development.
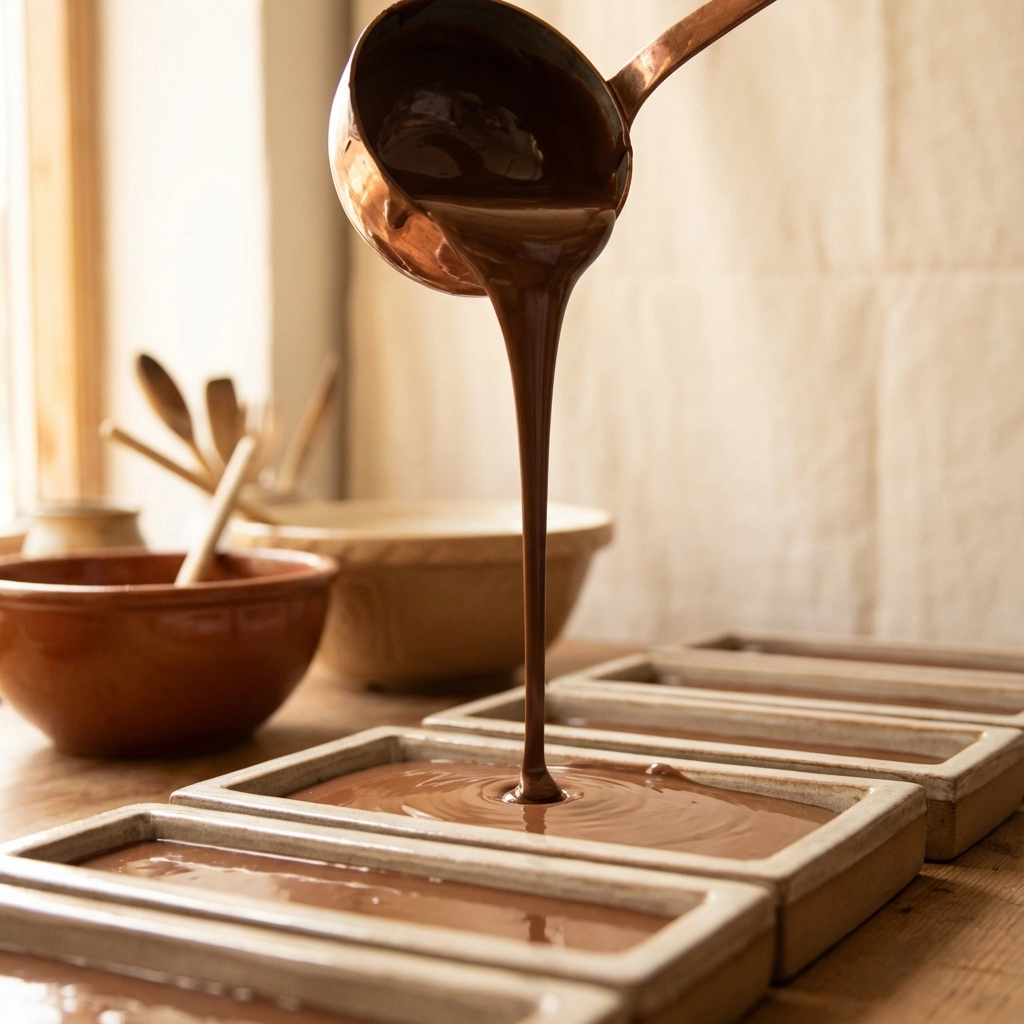
Once your conching is complete, pour your chocolate into containers to set. But don't stop here: proper tempering is what separates good homemade chocolate from exceptional artisan chocolate.
For 60% dark milk chocolate, use tempering temperatures that fall between typical dark and milk chocolate curves. Heat your chocolate to about 45°C, cool it to 27°C while stirring, then gently reheat to 29°C for working temperature.
The Secret Aging Step
Here's a professional tip that most home chocolatiers skip: aging your chocolate for 2-4 weeks after grinding but before final tempering can dramatically improve flavor, especially if you're working with single-origin beans that have high acidity. This aging process allows flavors to mellow and integrate in ways that immediate consumption simply can't achieve.
Ready to Start Your Chocolate Journey?
Creating perfect 60% dark milk chocolate at home is absolutely achievable with the right knowledge, quality ingredients, and proper technique. But why go it alone when you can join a community of passionate chocolate makers who share your enthusiasm?
Register for your free Cocoa Craft account and gain access to our interactive recipe builder tool that takes the guesswork out of ingredient ratios. Our members-only Chocolate Lab provides detailed tutorials, troubleshooting guides, and a supportive community of fellow chocolate artisans ready to help you succeed.
Plus, when you log in to your account, you'll unlock our premium formulation tools that help you experiment with different percentages and create your own signature blends. Want to try a 65% version? Or maybe experiment with different milk powder ratios? Our recipe builder makes it simple.
Don't let another day pass dreaming about making your own artisan chocolate: sign up now and start your journey toward chocolate mastery. Your taste buds (and everyone lucky enough to try your creations) will thank you!
Ready to source premium ingredients for your chocolate making adventures? Visit our curated collection of artisanal supplies and start crafting chocolate that's truly Made with Love.