
How to Create Perfect Dark Milk Chocolate Recipe in Your Home Kitchen (5-Step Guide)
Ready to transform your kitchen into a chocolate craft paradise? Making dark milk chocolate at home isn't just possible: it's absolutely magical when you know the right techniques! This artisan chocolate journey combines the rich depth of dark chocolate with the creamy smoothness of milk chocolate, creating something that's purely yours.
Whether you're a complete beginner or looking to upgrade your home chocolate making game, this 5-step guide will walk you through creating professional-quality dark milk chocolate using craft chocolate methods and the right equipment.
Step 1: Set Up Your Chocolate Craft Station
Essential Equipment You'll Need:
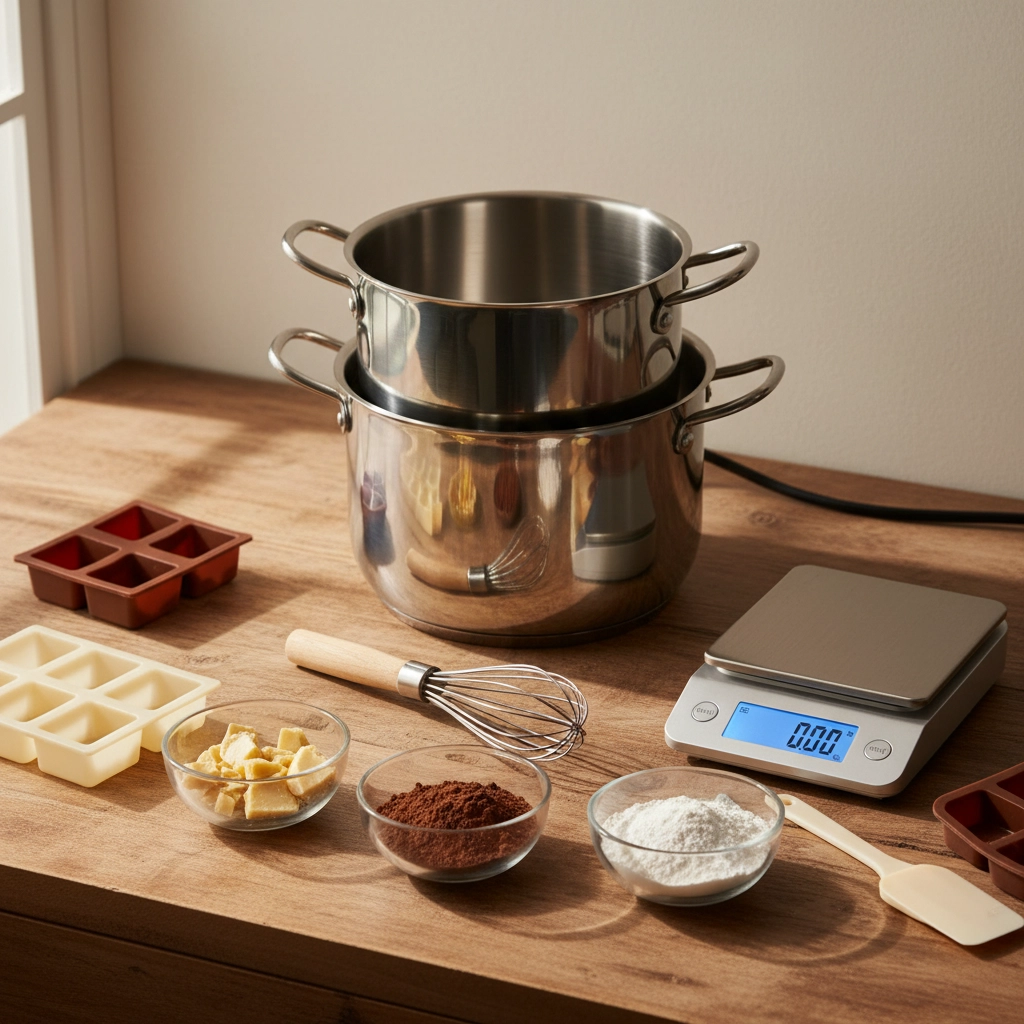
Your success starts with the right tools. For true chocolate craft, you'll want:
- Double boiler or improvised setup (heat-safe bowl over simmering water)
- Digital kitchen scale (precision matters!)
- Rubber spatula or silicone whisk
- Fine-mesh sifter
- Chocolate molds or silicone trays
- Thermometer (optional but recommended)
Pro Equipment Upgrade: Consider investing in a stone grinder for chocolate if you're serious about artisan chocolate. The Alpha200 grinder transforms your texture from good to absolutely incredible: we're talking silky-smooth, professional-grade results that'll make your friends think you bought it from a fancy chocolatier!
Your Dark Milk Chocolate Recipe Ingredients:
- 1/2 cup cocoa butter (110g) - the foundation of smooth texture
- 1/3 cup unsweetened cocoa powder (35g) - for that deep chocolate flavor
- 3 tablespoons whole milk powder (24g) - the creamy magic maker
- 3/4 cup powdered sugar (90g) - sweetness that dissolves perfectly
- Optional: 1 teaspoon vanilla extract or vanilla powder
Alternative Quick Method: Start with 8 oz high-quality dark chocolate chips, 2 tablespoons butter, 2 tablespoons sweetened condensed milk, and 2 tablespoons heavy cream.
Step 2: Master the Melting Process
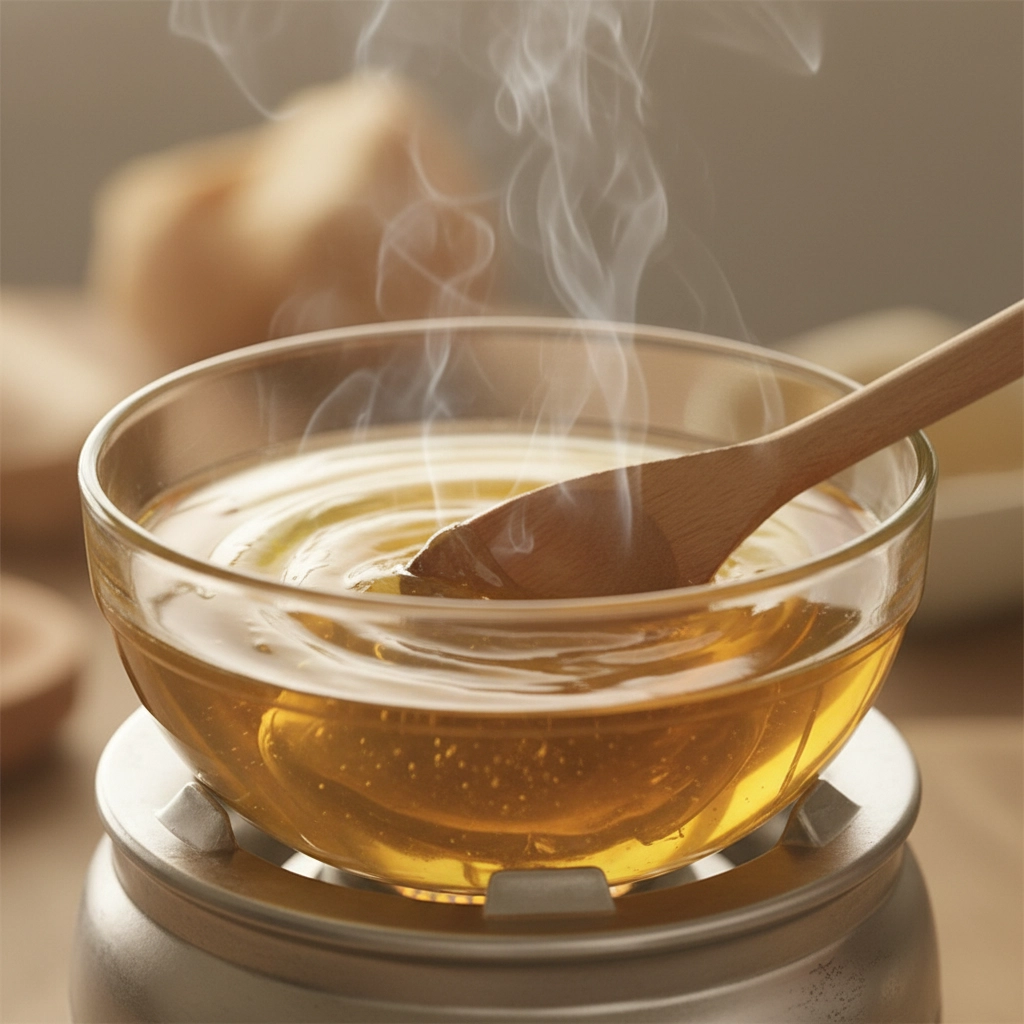
Here's where the magic begins! Set up your double boiler by filling a saucepan with 1-2 inches of water. Bring it to a gentle simmer: not a rolling boil. You want steam, not bubbles hitting your bowl.
The Cocoa Butter Method: Place your heat-safe bowl on top, ensuring the bottom doesn't touch the water. Add your cocoa butter and watch it slowly transform from solid to liquid gold. Stir gently but frequently: this isn't the time to multitask! The melting process should take about 3-5 minutes for complete liquification.
The Dark Chocolate Shortcut: If using dark chocolate chips, add them to your double boiler setup. Keep the heat low and stir constantly. Dark chocolate can go from perfect to burnt in seconds, so patience is your best friend here!
Temperature control is crucial for home chocolate making. You're aiming for about 115-120°F (46-49°C) for optimal results.
Step 3: Create Your Milk Chocolate Base
Remove your bowl from heat briefly: this prevents overheating while you add dry ingredients. Now comes the transformation!
Sift in your cocoa powder first. This step prevents those annoying lumps that can ruin your smooth texture. Add it gradually, whisking constantly until completely incorporated. The mixture might look thick at this stage: that's perfect!
Add your milk powder next. This is what transforms dark chocolate into creamy, dreamy milk chocolate. Whisk thoroughly until no white streaks remain. You're building layers of flavor and texture with each addition.
If you're using the alternative method, add your butter and sweetened condensed milk to the melted chocolate. The residual heat will melt the butter: just keep stirring until everything's smooth and unified.
Pro tip: Having trouble with lumps? Our recipe builder has troubleshooting guides for common texture issues!
Step 4: Perfect Your Chocolate Craft Through Refining
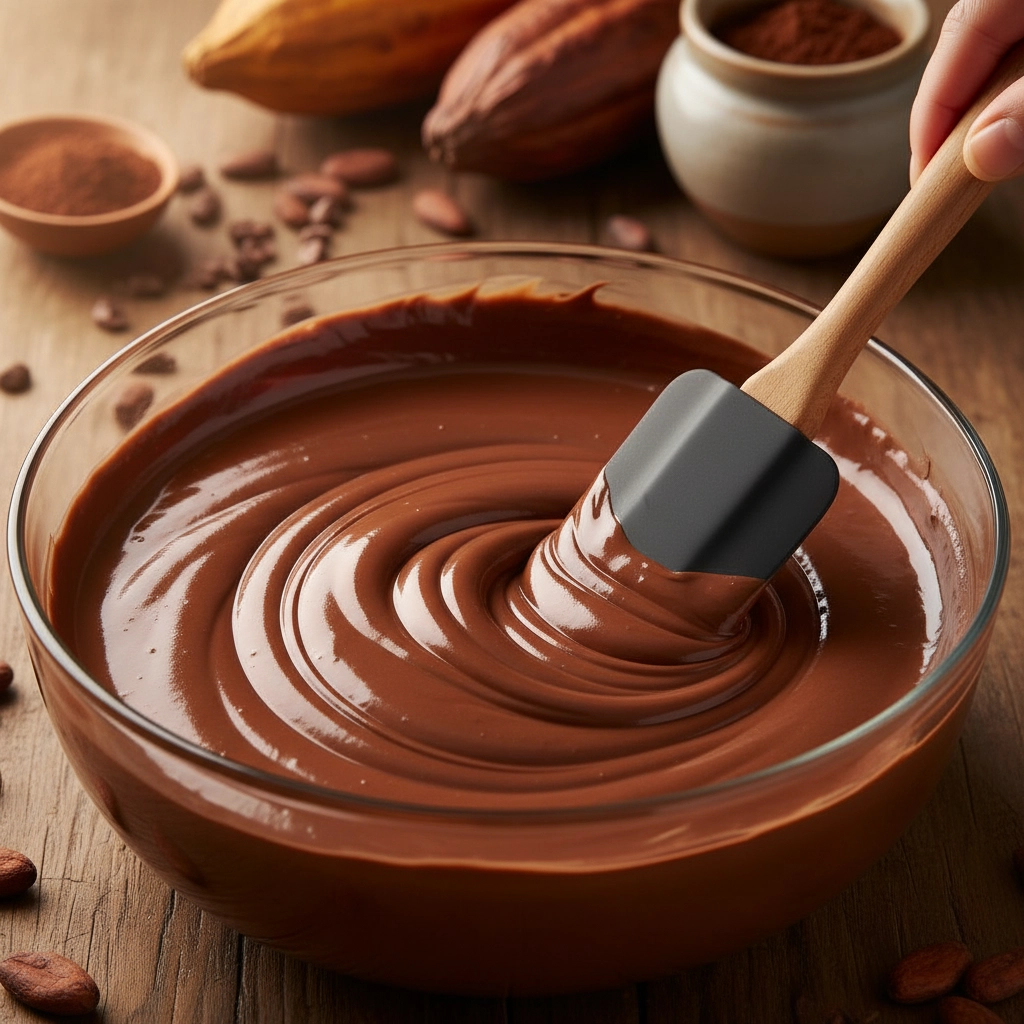
This is where artisan chocolate separates from amateur attempts! Add your powdered sugar in three stages: about one-third at a time. Why? Because sugar needs time to dissolve properly, and adding it all at once creates a grainy mess.
Stage 1: Add the first third, stirring vigorously until completely incorporated. Stage 2: Second third goes in, with continued stirring until smooth. Stage 3: Final third, plus any vanilla or flavorings you want.
Place your bowl back over the warm water and stir continuously for 5 full minutes. This isn't just mixing: you're actually refining the chocolate, breaking down sugar crystals and creating that smooth mouthfeel we all love.
Remove from heat and continue stirring on the counter for another 5 minutes. Your arm might get tired, but this step is crucial for professional results!
Want restaurant-quality texture? This is where a stone grinder for chocolate becomes your secret weapon. After cooling slightly, run your chocolate through the grinder for 2-4 hours. The difference is absolutely mind-blowing: silky smooth texture that rivals any premium chocolate bar you've ever tasted!
Step 5: Mold, Set, and Celebrate Your Creation
Your dark milk chocolate is almost ready! Pour it into your chosen molds while it's still warm and fluid. Silicone molds work beautifully, but don't overlook ice cube trays: they create perfect bite-sized pieces!
Setting Process:
- Room temperature: 30 minutes for initial setting
- Refrigerator: 20-30 minutes for complete firming
- Freezer: 10-15 minutes for quick results (great when you're impatient!)
Quality Check: Your finished chocolate should release easily from molds, have a subtle shine, and snap cleanly when broken. The flavor should balance the richness of dark chocolate with creamy milk notes: pure perfection!
Storage and Serving Tips
Store your homemade dark milk chocolate in an airtight container in the refrigerator for up to two weeks. For longer storage, wrap individual pieces in parchment paper and freeze for up to three months.
Serving suggestions: Your dark milk chocolate pairs beautifully with coffee, red wine, or as a base for hot chocolate. Break it into chunks and fold into cookies, or melt it down for the most incredible chocolate sauce ever!
Take Your Chocolate Craft to the Next Level
Ready to explore more artisan chocolate adventures? Check out our complete shop collection for premium ingredients and equipment that'll transform your kitchen into a chocolate paradise.
Want to experiment with different recipes? Our interactive recipe builder lets you customize recipes based on your equipment and preferences. From 60% dark milk variations to completely custom blends, the possibilities are endless!
Final Pro Tip: Start with high-quality ingredients. Try our premium cocoa nibs for adding texture, or explore our 60% dark milk chocolate for inspiration and comparison with your homemade version.
Making dark milk chocolate at home isn't just about the final product: it's about the journey, the learning, and the absolute joy of creating something delicious with your own hands. Every batch teaches you something new, and soon you'll be experimenting with your own signature recipes!
Your kitchen is now officially a chocolate craft workshop. Time to get melting, mixing, and creating the most incredible dark milk chocolate you've ever tasted!