
Dark Milk Chocolate Recipe Secrets Revealed: What Bean-to-Bar Makers Don't Want You to Know
Okay, let's be real for a second. You've tasted that incredible dark milk chocolate from your favorite bean-to-bar maker, the one that's silky smooth, perfectly balanced, and makes you wonder how they got it SO good. And then you tried making your own at home and... well, let's just say the results were a little less magical.
What gives? Are professional makers hoarding some ancient chocolate grimoire? Do they have secret handshakes and midnight rituals?
Not quite. But they do use techniques that most home makers skip over, either because they don't know about them or because they seem too intimidating. Today, on this glorious Sunday Game & Community day, we're pulling back the curtain and sharing exactly what separates "pretty good" dark milk chocolate from the "oh WOW" stuff.
Even better? We're going to show you how Cocoa Craft's digital tools can help you nail these techniques yourself, because why should the pros have all the fun?
Secret #1: Milk Powder Is Non-Negotiable
Here's the thing that trips up almost every beginner: you cannot use liquid milk in chocolate making.
Why? Because cocoa butter is hydrophobic, it literally repels water. When you try mixing liquid milk into melted chocolate, you get a grainy, seized mess instead of that smooth, glossy texture you're dreaming about. Professional makers know this, which is why they exclusively use whole milk powder as a solid ingredient that can blend homogeneously with cocoa mass and sugar during the grinding process.
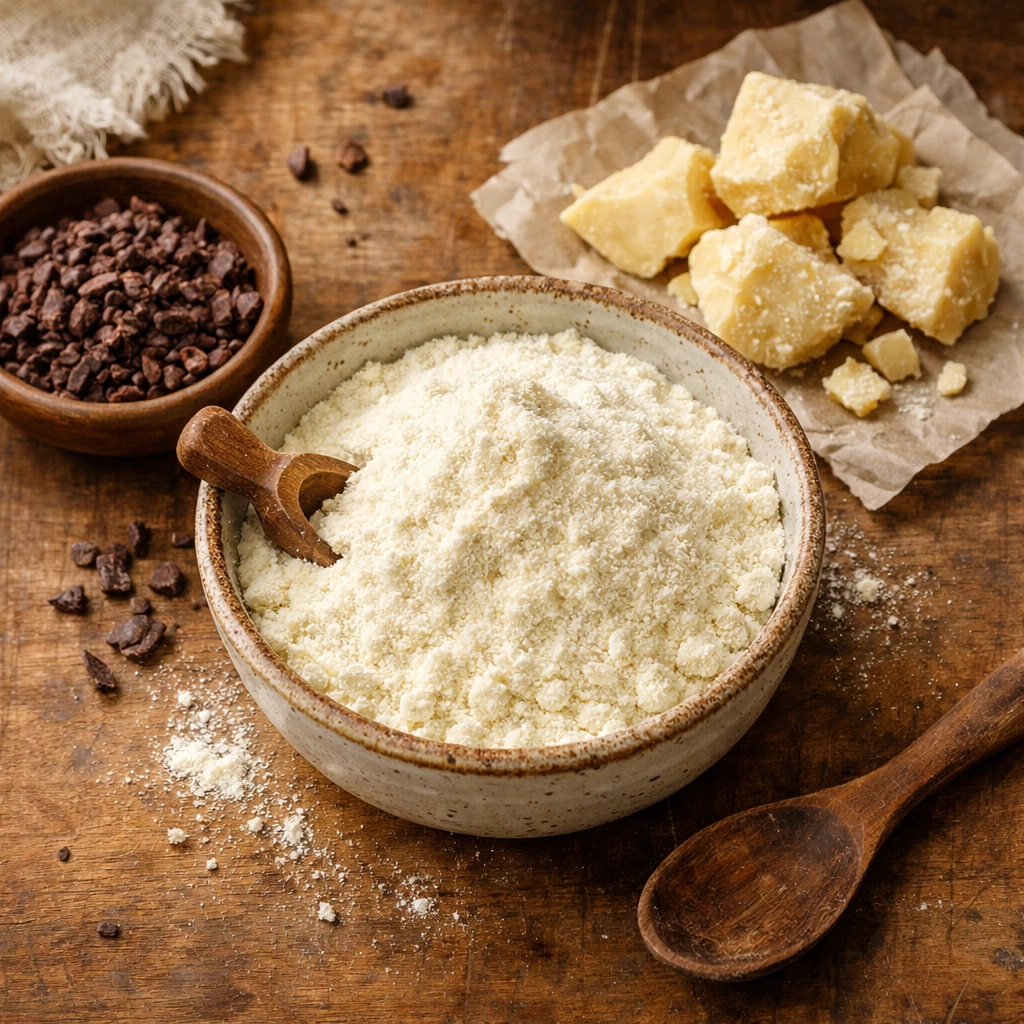
And not just any milk powder, either. Full-fat milk powder creates superior flavor compared to low-fat alternatives. The goal isn't to turn your chocolate into a milkshake, it's to add just enough creaminess to offset the natural bitterness in high-quality cacao while letting those complex flavor notes shine through.
Think of milk powder as the secret handshake. Once you know it, you're in the club.
Secret #2: Extended Grinding Times Are Where Magic Happens
Ready for a reality check? That "quick 2-hour chocolate recipe" you found online? Professional bean-to-bar makers are laughing (kindly, of course).
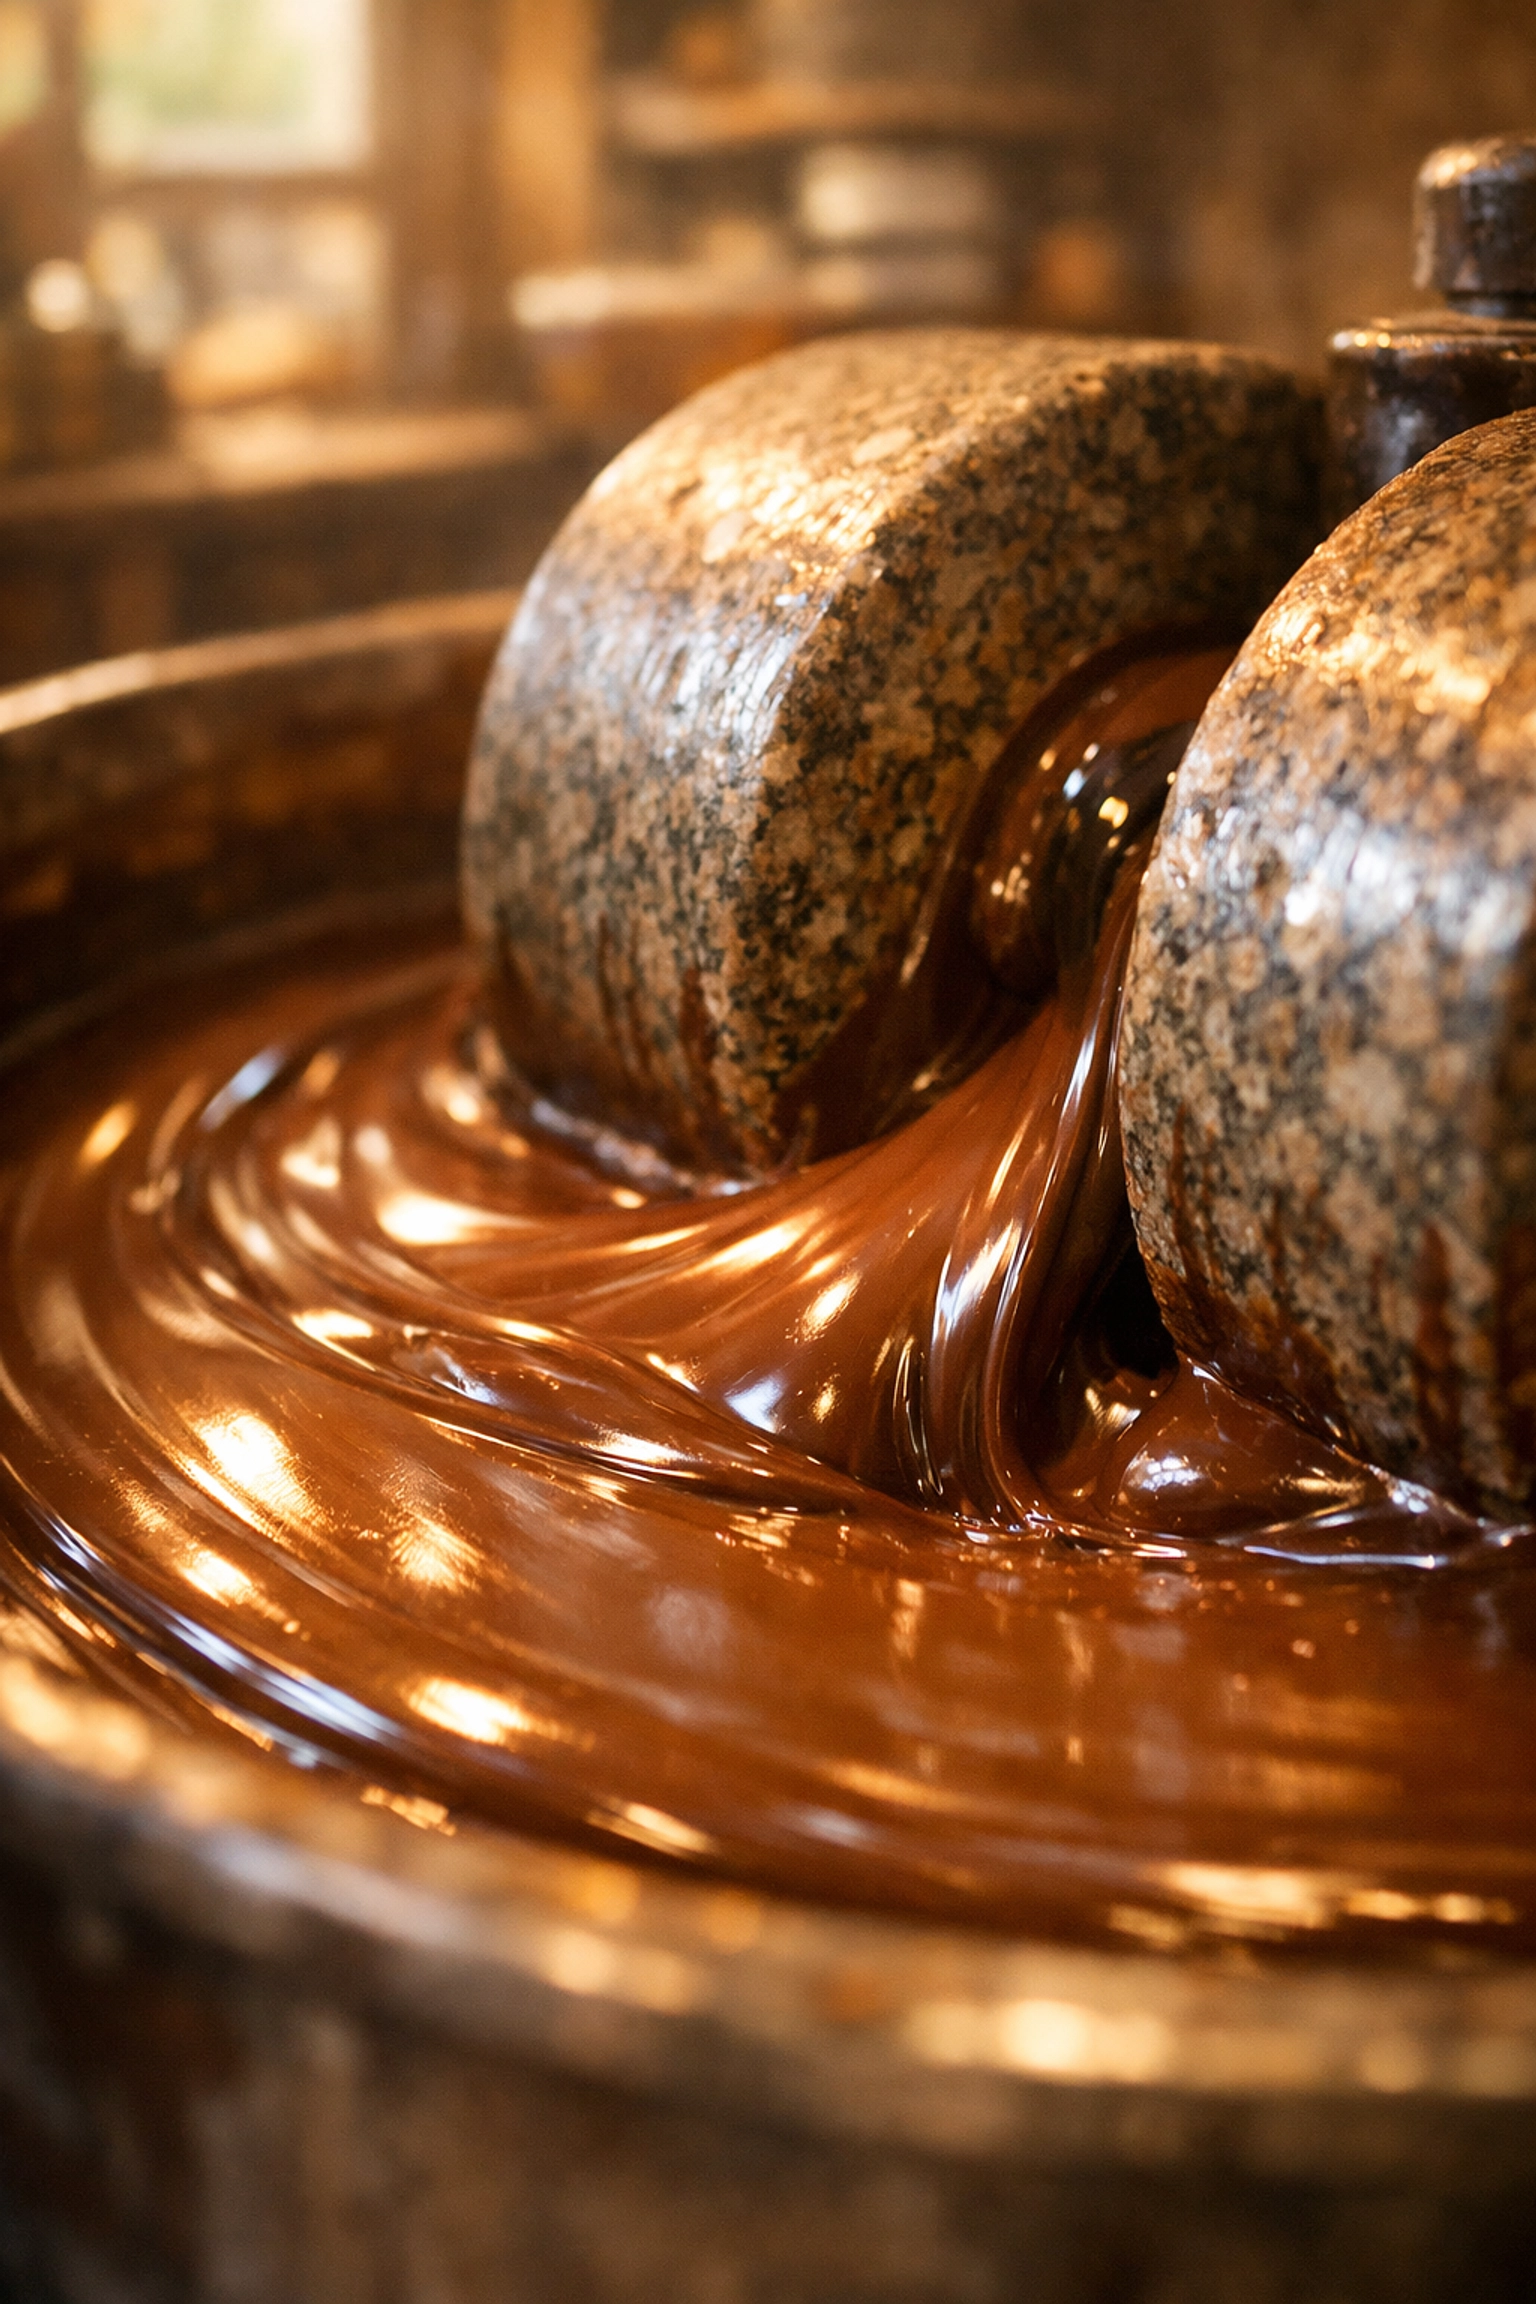
A typical dark milk chocolate at 60% cacao requires 24 to 72 hours of continuous grinding and conching, depending on your equipment size. Yes, you read that right. Three full days for larger batch systems.
This extended mixing period isn't just busy work, it's absolutely essential for developing the smooth texture and complex flavor that characterizes quality chocolate. During this time, volatile acids evaporate, flavor compounds develop, and particle size reduces to that perfect, imperceptible smoothness on your tongue.
Can you get away with less time? Sure. Will it taste the same as professionally-made chocolate? Absolutely not.
This is where having the right tools makes all the difference. And speaking of tools...
Secret #3: Precise Ratios Matter More Than You Think
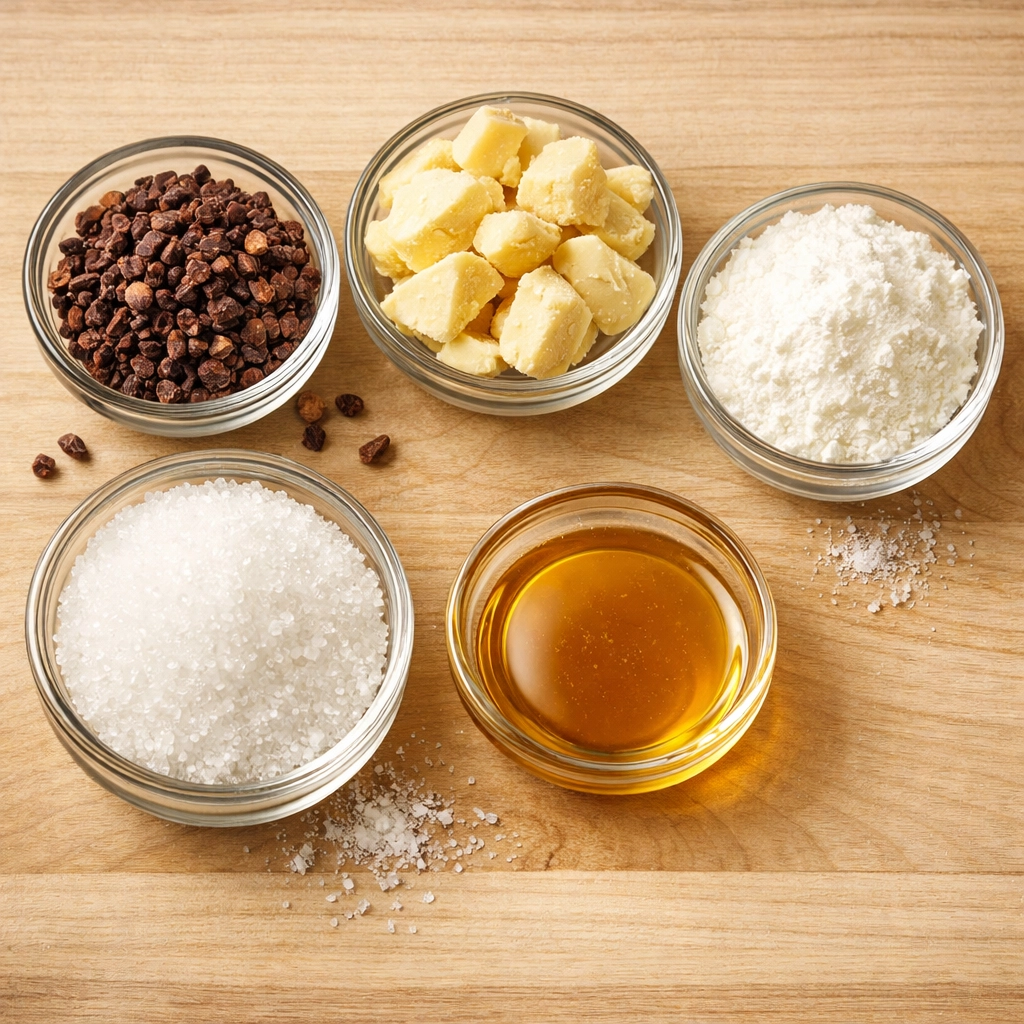
Here's a professional dark milk chocolate recipe that actually works:
- 50% roasted cocoa nibs
- 10% cocoa butter
- 7% whole milk powder
- 32.6% cane sugar
- 0.4% sunflower lecithin
Notice something? Those percentages are specific. Not "a handful of this" or "some of that." Professional makers obsess over these ratios because chocolate is incredibly sensitive to small changes in composition.
That relatively high cocoa butter content? It helps manage viscosity, which is especially challenging when working with milk chocolates. Too little, and your chocolate becomes thick and unmoldable. Too much, and it separates or blooms too easily during storage.
Want to experiment with your own ratios and see how changes affect your final product? Our Recipe Builder lets you play with formulations digitally before you commit ingredients to your grinder. It's like having a chocolate calculator that saves you from expensive mistakes!
Secret #4: Lecithin Is Your Secret Weapon (But Only If You Use It Right)
Sunflower lecithin gets added near the end of conching, about one hour before completion, and it dramatically impacts viscosity and moldability. But here's the catch: it stops being effective above 0.5% concentration.
This means you need to measure precisely. Too little, and your chocolate stays thick and difficult to work with. Too much, and you've wasted product without gaining any benefit. Professional makers know this sweet spot and hit it every single time.
Secret #5: Temperature Control From Start to Finish
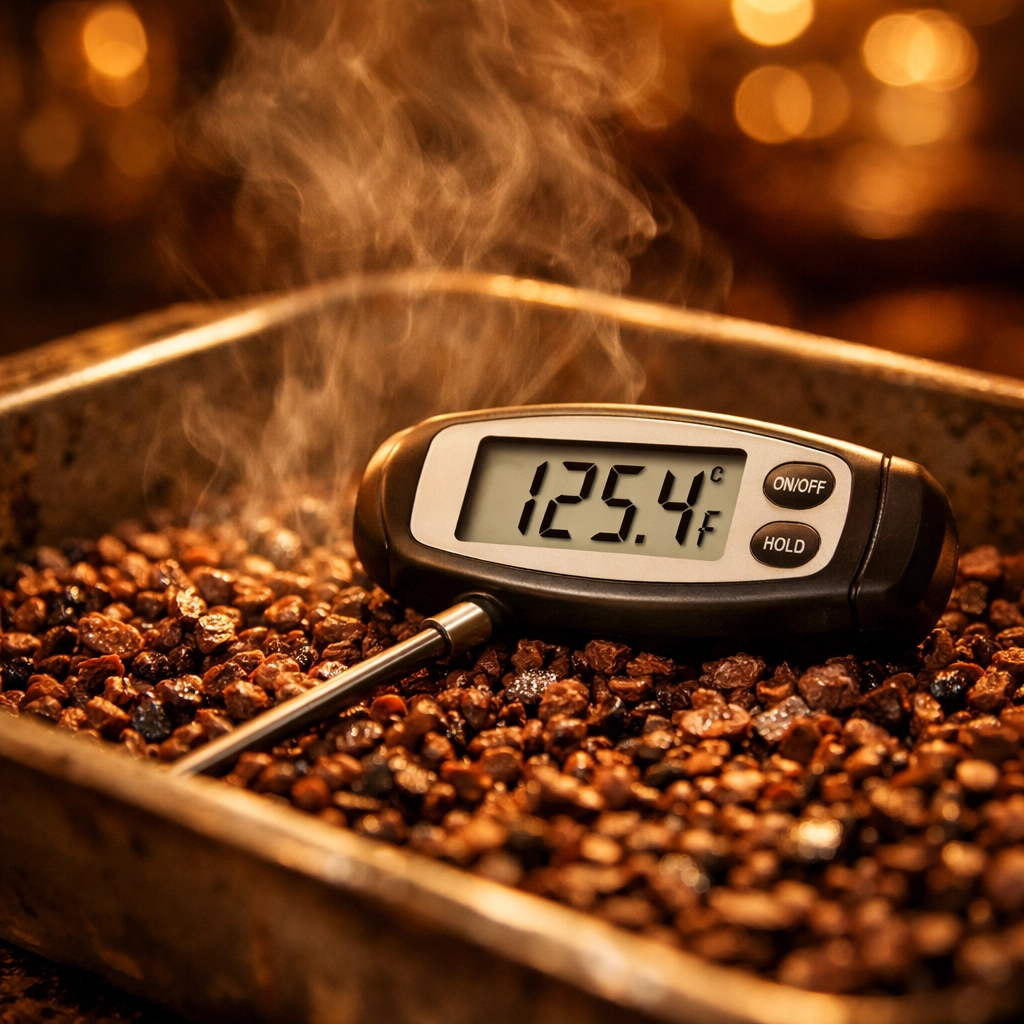
Professional chocolate makers warm all solid ingredients, including their equipment, to at least 120°F before processing begins. Nibs and cocoa butter get added slowly to heated grinders for optimal results.
The roasting process is equally standardized: typically 20 minutes at 120°C for most beans. These aren't random numbers pulled from thin air, they're carefully calculated temperatures that maximize flavor development while preventing burnt or under-developed notes.
Secret #6: Patience in Aging Makes Perfect
Here's one secret that requires zero special equipment but maximum willpower: age your finished chocolate for 2-4 weeks after grinding and before tempering.
Professional makers do this religiously, especially for single-origin varieties with high acidity. During this resting period, flavors mellow and blend together, creating a more harmonious final product. Most home makers skip this step because, well, who wants to wait when there's chocolate RIGHT THERE?
But trust us, the difference is noticeable. That's the kind of patience that separates hobbyists from artisans.
Putting It All Together With Cocoa Craft
So now you know the secrets. But knowing and doing are two different things, right?
That's exactly why we built the Chocolate Lab and our suite of formulation tools. These aren't just pretty interfaces, they're designed to help you implement these professional techniques in your own chocolate making journey.
Want to calculate precise percentages for a custom recipe? Use our Recipe Builder. Need to track temperature curves and grinding times for multiple batches? Our Formulation Tool has you covered. Curious how your approach compares to what other makers in the community are doing? Jump into the discussion forums and compare notes.
And because it's Sunday, Game & Community day!, we'd be remiss not to mention that you can take a break from all this serious chocolate science and enjoy some Hot Cocoa Rush while your chocolate grinds away for the next 24 hours. Hey, we said professional makers were patient, not boring!
The Real Secret? Community Knowledge
Here's the truth behind all these "secrets": they were never really secret at all. Professional chocolate makers share techniques freely at conferences, in forums, and through apprenticeships. The barrier wasn't knowledge: it was access.
That's changing. The bean-to-bar community is more open and collaborative than ever, and platforms like Cocoa Craft exist specifically to democratize this knowledge. Every tool we build, every guide we publish, every forum discussion we host: it's all designed to make professional-quality chocolate making accessible to everyone.
Your Turn to Create Magic
Dark milk chocolate might seem intimidating now that you know what goes into it. Twenty-four hours of grinding? Precise temperature control? Aging for weeks?
But here's what we know: every single professional chocolate maker started exactly where you are right now. They learned these techniques one at a time, made mistakes, adjusted, and eventually created something extraordinary.
You can do the same thing. And you don't have to do it alone.
Sign up for a free Cocoa Craft account today and get instant access to our Recipe Builder, Formulation Tool, and the entire community of makers who are on this same journey. Compare notes. Share your results. Ask questions. Celebrate successes.
Already have an account? Log in and explore our Game Hub while you're planning your next batch!
The secrets are out. The tools are ready. The community is waiting.
Now it's time to make some seriously good dark milk chocolate.